
Products, lessons, videos, workouts, blogs, recipes books, movies —
You've probably invested a ton of time and money into making great content for your app, but your users only ever see a small fraction of it (if they see it at all).
Most of the time it just sits there... on your app... not adding any value to anybody.
Here's a quick five step process, showing how you can activate that content through your standard marketing channels (push notifications, email, in-app messages, and/or SMS and WhatsApp) to increase your engagement and CTR rates:
The whole process takes less than 20 minutes, once you integrate with Aampe.
Step 1. Download your content into a csv
Export your content into a CSV file (We also support direct connections with your Content Management System (CMS) where our messaging- optimized recommender system can support custom recommendations for users from millions of items).
The formatting of the CSV file isn't critical as long as your data is organized under headings and there aren't any blanks:
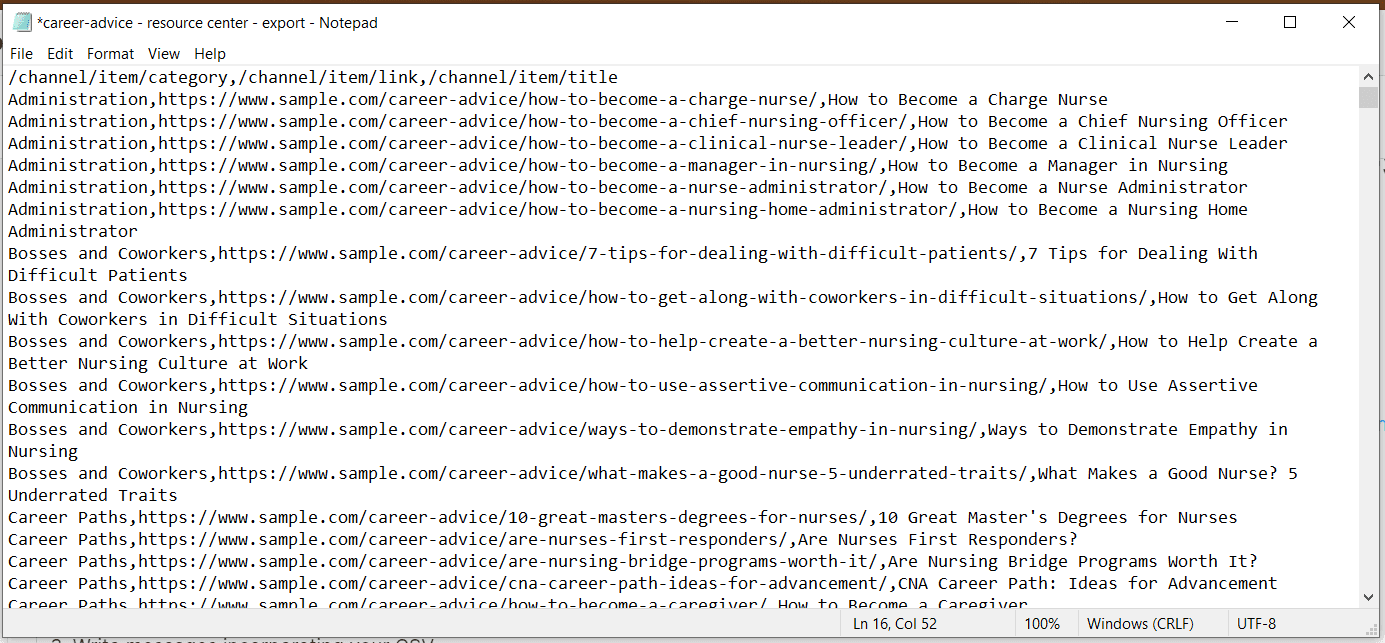
Note: For best results, be sure one of the columns includes a deep link or web link (We'll get to that in more detail later.)
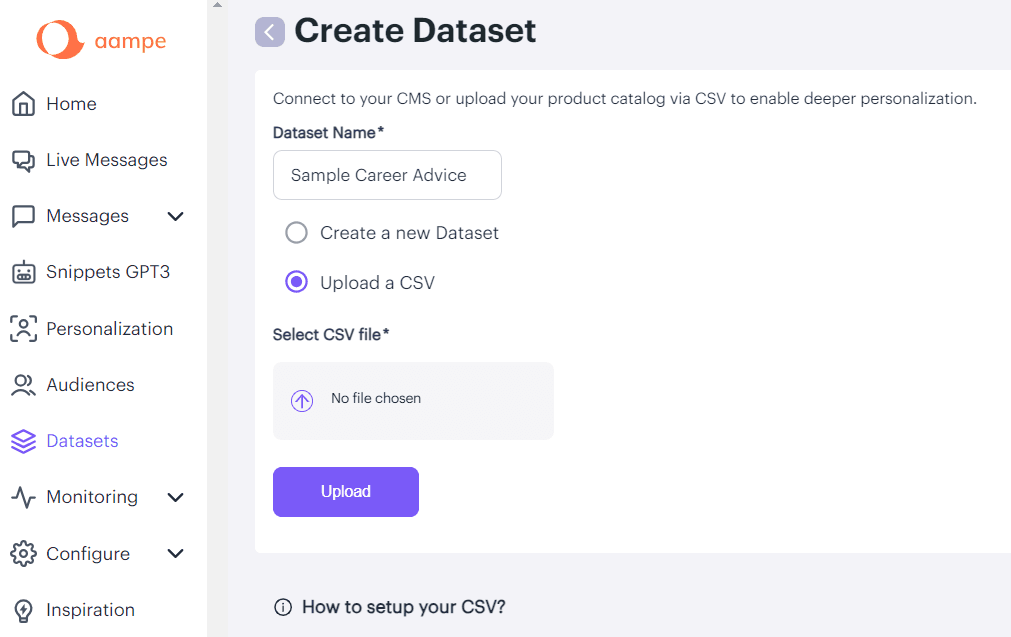
Step 2. Upload the CSV to Aampe
Upload your dataset in the datasets screen in the Aampe composer:
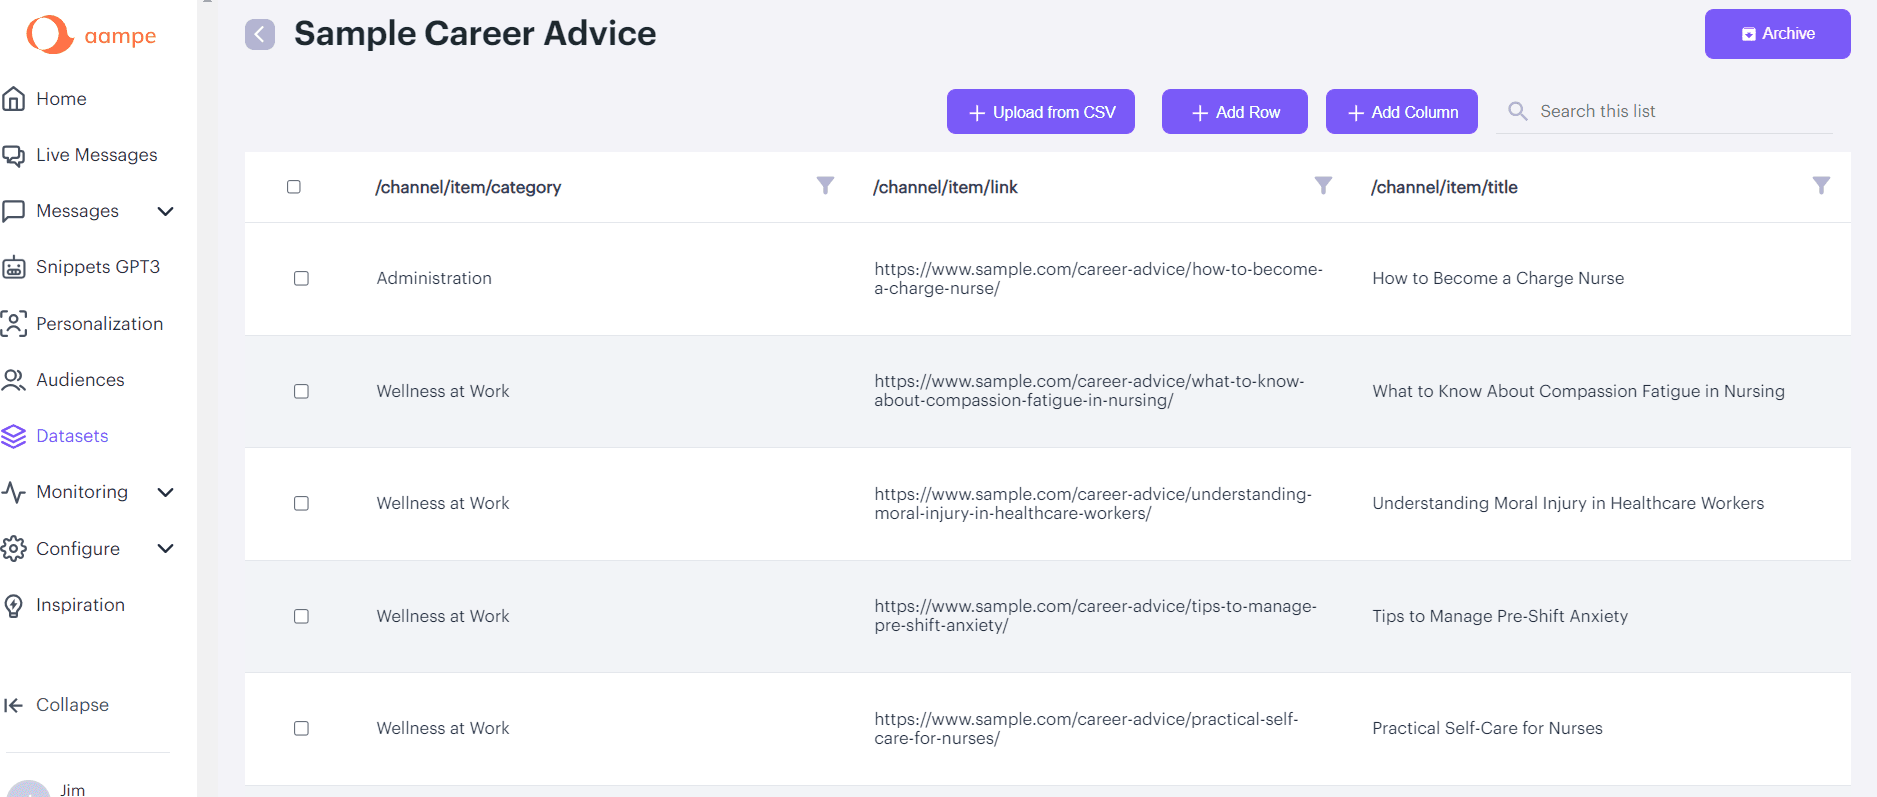
Once it's uploaded, it will look like this (you can always edit this information as needed):
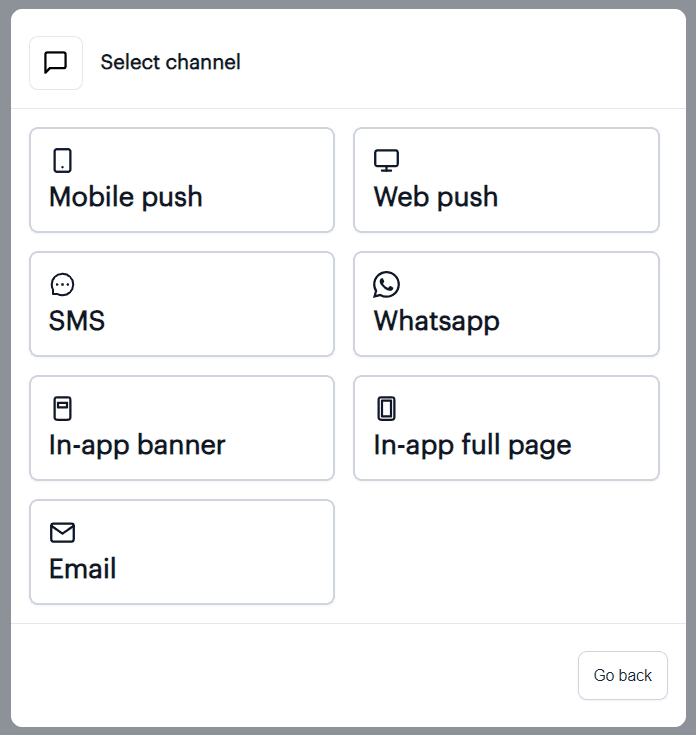
Step 3. Write messages incorporating your dataset
Start by selecting which channel you'd like to write your message for (mobile push, web push, SMS, WhatsApp, in-app banner, in-app message, or email):
Then, after naming your message and adding any applicable audiences, triggers, and/or tags, write your message with a header or body as you normally would.
Once you get to the spot where you'd like to include the data from your content, click the "Insert Dataset" button at the bottom of the input box:
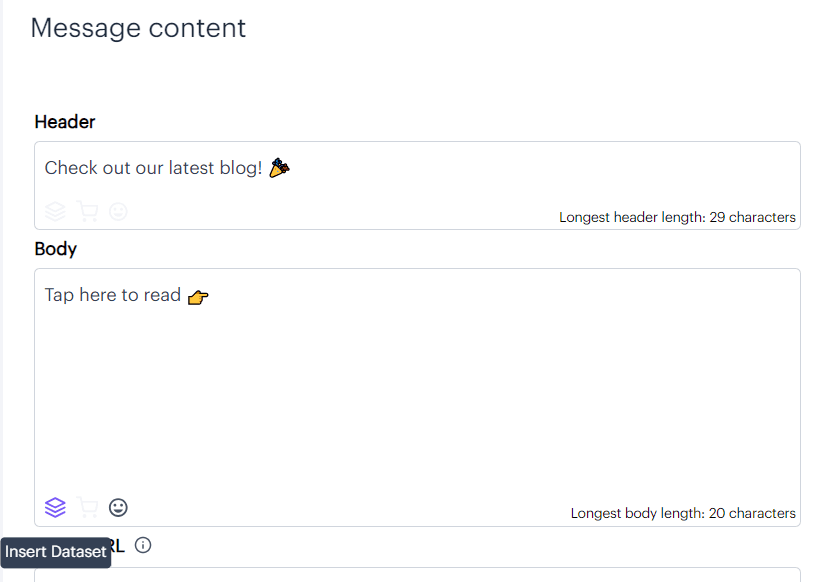
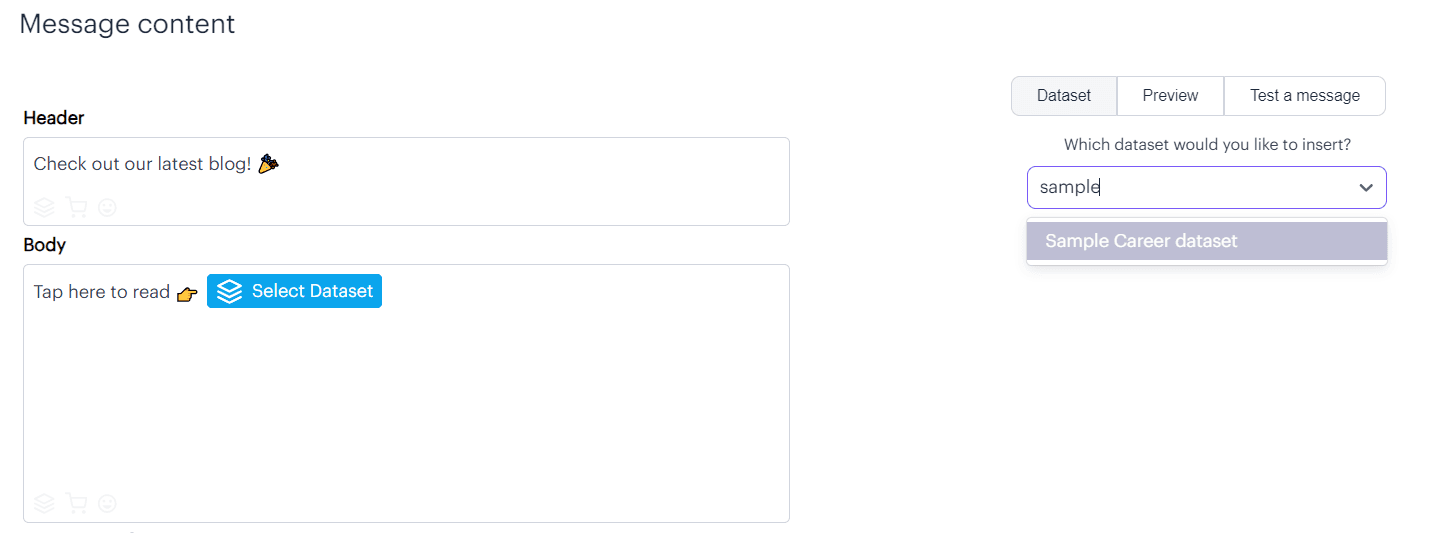
You'll notice that this adds a dataset placeholder, and clicking on it opens up a box for you to select your dataset on the right:
Once you select your dataset, you have the option to filter any columns you want, so you can only send out a subset of your content if you want (e.g. only send horror movies or vegetarian dishes):
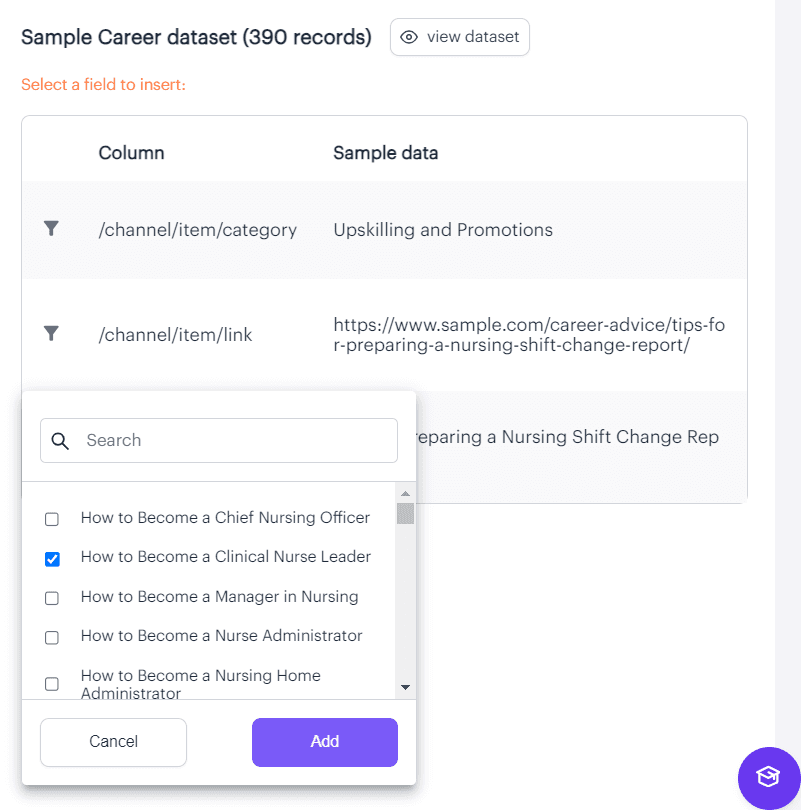
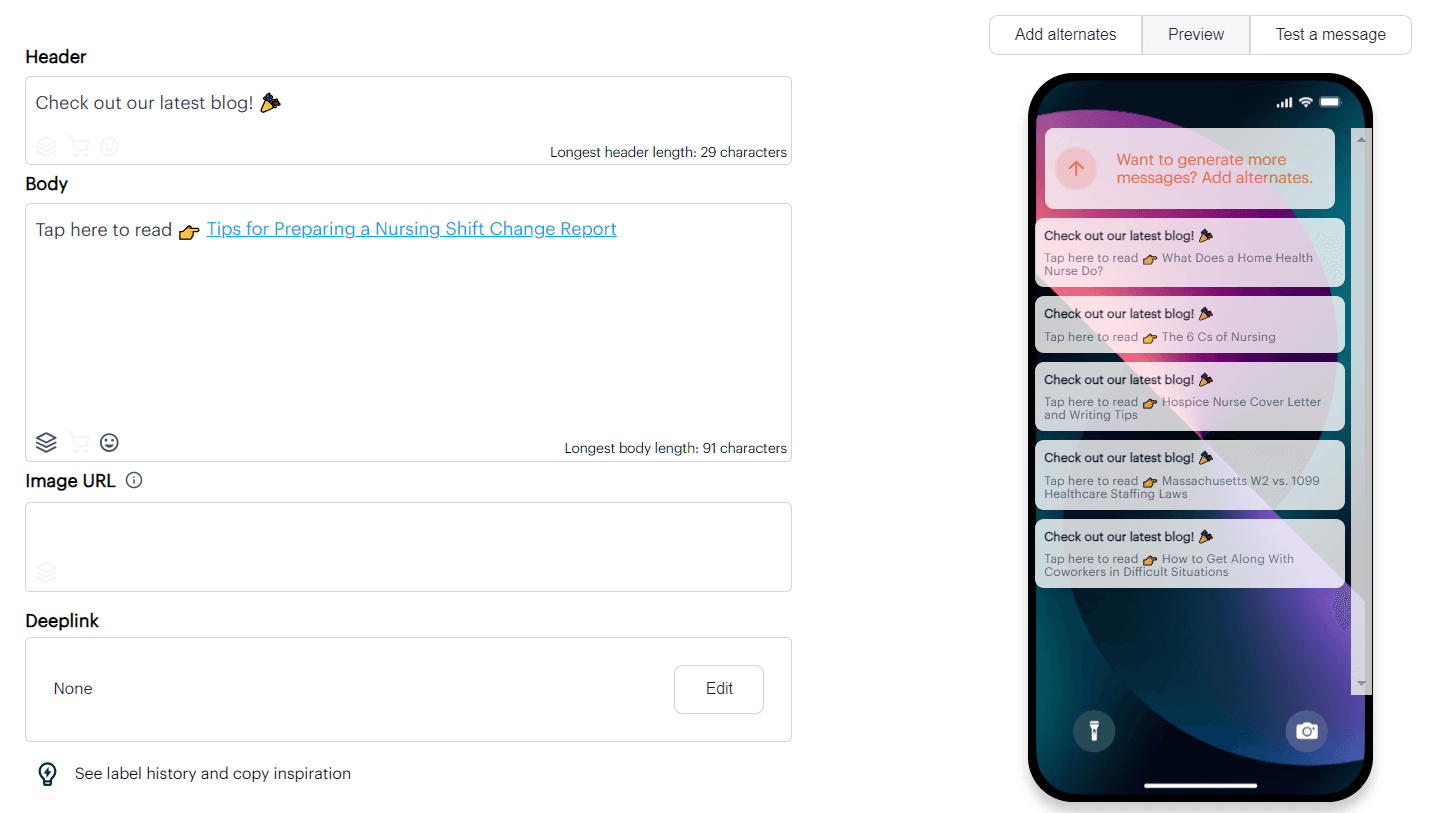
After making your selection(s) (if necessary), tap the row with the information you'd like to appear in your messages, and the Aampe input box and preview pane will start generating previews:
Step 4. Add your deeplink
If we didn't add our deeplink your messages would just send users to your app home screen, which wouldn't be a great experience. Thankfully, you included a deeplink column in your CSV file! (...You did, didn't you? 😅)
We'll just go down to the deeplink section, right under where you typed your message, and select the deeplink column from your dataset. Now every message will direct your user right to the content they tapped on:

Note: There's also deeplink icon in the "Images" box. Adding a column to your CSV with a corresponding image URL will insert a corresponding image into each of your messages.
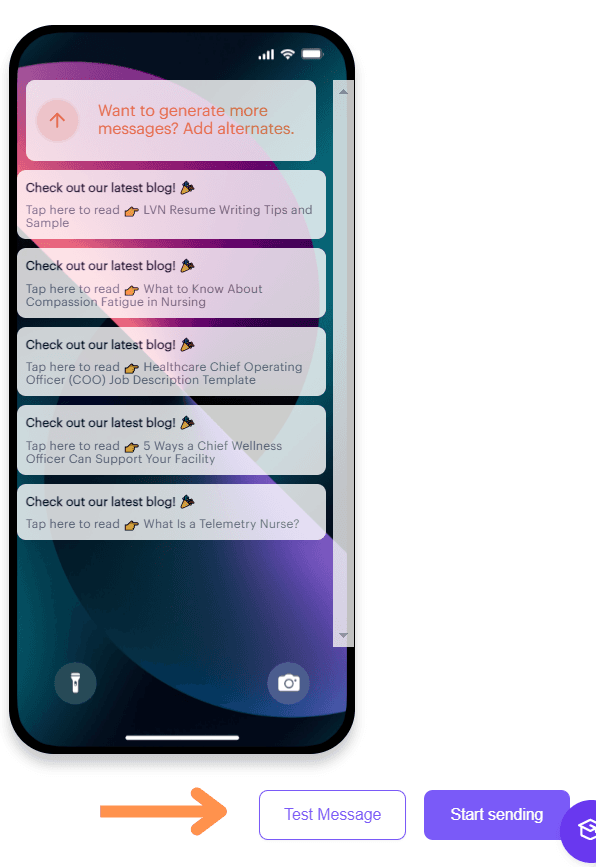
Also note: You have the ability to send a test message. We always advise sending a test message to ensure your deeplinks and functionality are set appropriately.
Step 5. Hit "Start sending"
After you test your message, hit "Start Sending"
With Aampe, you don't need to schedule a specific send time or build a specific user journey. Aampe's AI will use the messages you just created from your CSV file as needed to help engage your users and drive more of your conversion events.
Just like that, you've mobilized your content through your marketing messages
Your users will begin to get personalized messages with all kinds of interesting content they never knew existed on your app, driving up your CTR rates, engagement and retention!
Want to see the process step by step? Here's a quick vid:
...and this is just the tip of the iceberg of what Aampe can do to help drive up your engagement.
Want to learn more?
Click the button below.


