

Connecting to BigQuery with Python is a streamlined process that unlocks the power of Google's fully managed, serverless data warehouse for your data science projects. As a cloud service, BigQuery enables you to analyze vast amounts of data in real-time, aided by Google Cloud's robust and scalable infrastructure. Whether you are an experienced data scientist or just starting out, integrating Python with BigQuery is designed to enhance your productivity and simplify your data analysis tasks.
To connect Python to BigQuery, you'll utilize the Google Cloud client libraries tailor-made for Python. These libraries facilitate interaction with BigQuery's powerful features, allowing you to execute complex queries, manage data sets, and leverage Google Cloud's resources—all within the Python ecosystem.
Once the setup is complete, the Python code for querying BigQuery is syntactically simple. It is a matter of a few lines of code to authenticate, construct your query, and process the results. Queries can range from simple data retrieval to complex analytical transformations, underlining the utility of BigQuery in the field of data science.
Setting Up the Environment
Before connecting BigQuery with Python, ensure your development environment is properly set up. This involves installing necessary libraries, creating a Google Cloud project, and configuring the appropriate credentials.
Installing Python and BigQuery Client Libraries
Firstly, you'll need to have Python installed on your system. Python can be downloaded from the official Python website. Once installed, use pip, Python's package installer, to install the BigQuery client library by running the following command in your terminal:
This library is essential as it provides you with the Pythonic interface for interacting with the BigQuery API.
Creating a Google Cloud Project
To use BigQuery, you must have a Google Cloud project. Navigate to the Google Cloud Console and create a new project. Remember to note down your project's ID because you'll need it to authenticate your BigQuery client.
Configuring Service Account and Credentials
To interact with BigQuery, you'll require a service account—a special type of Google account belonging to your application or a virtual machine (VM), instead of an individual end user. To create a service account and download its credentials:
- Go to the Google Cloud Console.
- Select your project, and navigate to IAM & Admin > Service accounts.
- Click Create Service Account, give it a name, assign it a role (such as BigQuery Admin), and grant it access to the necessary resources.
- After creating the service account, click Create Key and download the JSON file containing your credentials.
Store the downloaded JSON file securely. You'll need to set an environment variable called GOOGLE_APPLICATION_CREDENTIALS to the path of your JSON file to authenticate your Python application with Google Cloud.
This will allow your application to access BigQuery with the permissions of the service account.
Establishing a Connection
Before you can harness the power of querying with BigQuery in your Python applications, it's essential to establish a secure connection between your Python environment and the BigQuery API. This process involves two main steps: authenticating your credentials with Google Cloud and initializing the BigQuery client to interact with the data warehouse.
Authenticating with Google Cloud
To begin, authentication is imperative to interact with Google Cloud services securely. In Python, authentication typically involves using service account credentials. You'll need to generate a JSON key file through the Google Cloud Console and then reference this file in your Python code.
- Go to the Google Cloud Console.
- Navigate to 'IAM & Admin' → 'Service Accounts', and create a new service account or select an existing one.
- Generate and download a JSON key for this account.
Next, you will need to set an environment variable to point to the path of your downloaded JSON key file:
This approach ensures that your credentials are kept secure and are not hard-coded into your application.
Initializing the BigQuery Client
Once authenticated, the next step is to initialize the BigQuery client, which is the primary intermediary for your Python application to interact with BigQuery.
To do this, you will first need to install the necessary client library with a command such as:
Following the installation, the BigQuery client can be initialized in your Python code like so:
With the client object, you are now well-equipped to execute queries and manipulate datasets within BigQuery.
Working with BigQuery
When interfacing with Google BigQuery using Python, the two essential operations you need to master are executing SQL queries and handling data manipulation.
Executing SQL Queries
To query data from a BigQuery database, you must construct an SQL query specific to your data retrieval needs. Begin with importing the BigQuery client from the google.cloud library and initializing it with your project's details:
Once your client is set up, you submit an SQL query string to BigQuery using the client's query method:
The results can be fetched as follows:
This simple process enables you to execute SQL queries to retrieve data seamlessly.
Handling Data Manipulation
When manipulating data, you work with operations such as INSERT, DELETE, and MERGE. In BigQuery, these operations are also conducted via SQL queries.
Insert: Add new rows to a BigQuery table.
Delete: Remove rows from a table based on a condition.
Merge: Combine rows from multiple tables.
Each of these statements is a form of data manipulation designed to alter the dataset within your BigQuery instance.
For an in-depth tutorial on connecting to and querying BigQuery from Python, the Google Codelabs guide is an excellent resource, offering a step-by-step walkthrough of the processes involved.
Integrating BigQuery with Python Tools
Connecting Python tools like Pandas and Jupyter Notebooks with BigQuery can significantly streamline your data science workflow when you're looking to analyze large datasets.
Using Pandas for Data Analysis
Pandas is an indispensable tool in your data science toolkit, offering powerful data structures for efficient data manipulation and analysis within Python. To work with BigQuery, you'll first need to establish a connection using the bigquery.Client() method from the google-cloud-bigquery library. After setting up your client, you can pull data directly into a Pandas DataFrame using the read_gbq function, allowing swift and effective data manipulation.
Once the data is in a DataFrame, you can perform typical Pandas operations for data analysis, ranging from simple descriptive statistics to complex time series analysis.
Visualizing Results with Jupyter Notebooks
For a seamless visual representation of your data analysis, integrating BigQuery with Jupyter Notebooks is a strong move. Notebooks serve as an IDE, facilitating code writing, debugging, and visualization in an interactive environment conducive to machine learning experimentation.
Here's an example of how you can visualize BigQuery data within a Jupyter Notebook using Python's matplotlib library:
By leveraging the in-line plotting capabilities of Jupyter Notebooks, you gain the power to iterate through visualizations and data analysis seamlessly, allowing you an interactive approach to machine learning and advanced analytics tasks.
Remember, integrating these powerful Python tools with BigQuery enables you to harness the full potential of your data within a comprehensive ecosystem tailored for data science success.
Advanced Concepts and Best Practices
As you progress with integrating BigQuery and Python, mastering advanced concepts and employing best practices is crucial to both secure your data and harness the full power of BigQuery's analytics capabilities.
Managing BigQuery Access Control
Properly managing access control in BigQuery is fundamental for safeguarding your data. You need to be familiar with Identity and Access Management (IAM) roles which determine what actions users and services can perform. For example, when using the BigQuery API, it’s essential to assign appropriate IAM roles to your cloud service accounts to control their level of access.
- Recommended IAM roles for service accounts include:
- Viewer: Grants read-only access to resources.
- Editor: Grants access to modify and delete resources.
- Owner: Provides full control over projects and resources.
- Authentication mechanisms to consider:
- Service Account Key: A JSON file that you can use to authenticate your API requests.
- Google OAuth 2.0: Allows you to perform authenticated operations without having to manage any keys.
For detailed instructions on managing permissions and service account authentication, refer to Google's access control documentation.
Leveraging BigQuery for Machine Learning
BigQuery is not just a data warehouse; it’s a platform that allows you to apply machine learning (ML) to your data directly within the cloud service. With BigQuery ML, you're able to create and deploy ML models using standard SQL queries, which simplifies the process for those familiar with SQL but not necessarily deep ML expertise.
- Common ML tasks in BigQuery:
- Model creation: Train ML models on your data with simple SQL commands.
- Prediction: Execute predictions on new data using the models you've built.
By using BigQuery ML, you can save valuable RAM and computational resources that would normally be consumed by running ML algorithms on your local machine. For practical examples of ML with BigQuery, you can explore open-source projects on GitHub that demonstrate how to integrate BigQuery ML with your Python applications.
Looking to do more with your data?
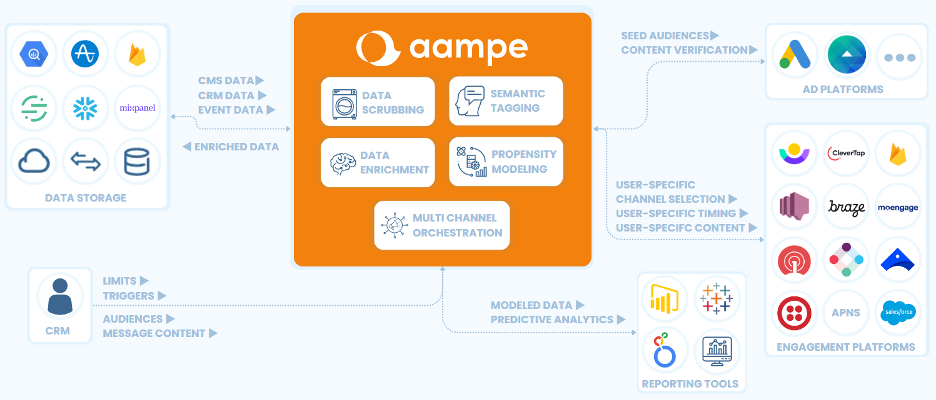
Aampe helps teams use their data more effectively, turning vast volumes of unstructured data into effective multi-channel user engagement strategies. Click the big orange button below to learn more!


.png)


